How to Sand Old Hardwood Floors: A Step-by-Step Guide
Old hardwood floors add character and warmth to a home, but after years of use, they can become scratched, worn, and dull. Sanding is the key to bringing them back to life.
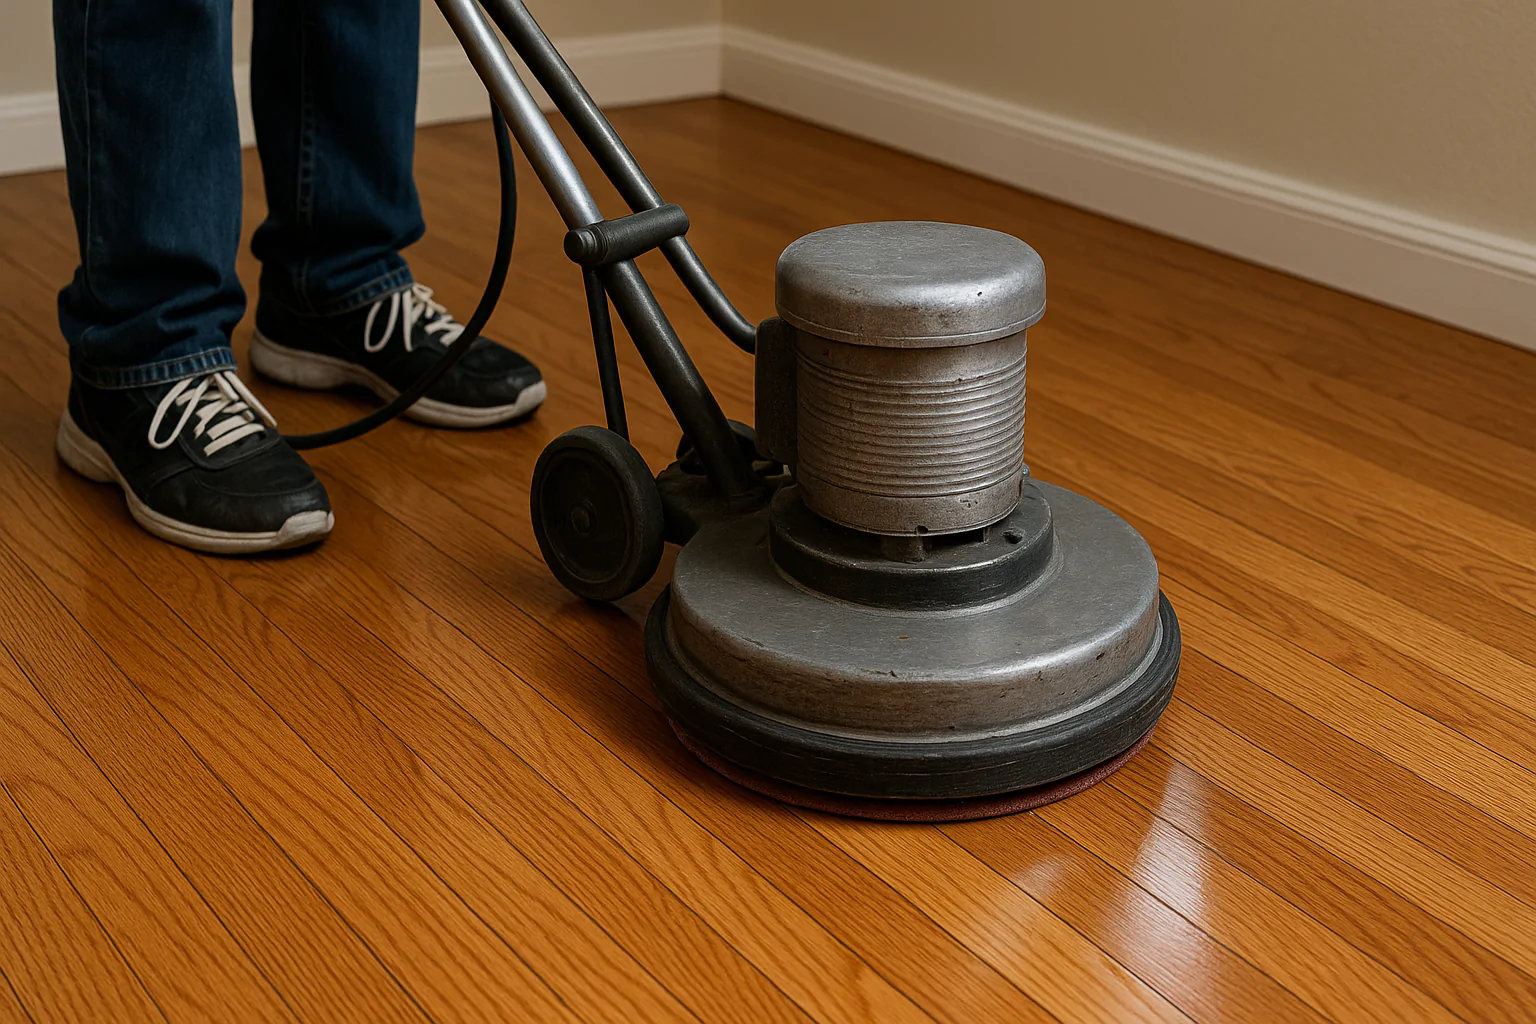
Sanding old hardwood floors involves removing the existing finish, smoothing out imperfections like scratches and dents, and preparing the bare wood for a new stain and protective finish. This process requires specific tools and a careful approach.

Using a drum sander on an old hardwood floor.
Refinishing old floors is a significant project, but the results can be incredibly rewarding, restoring the beauty and value of your home. Understanding the proper sanding techniques is essential for a successful outcome.
What is the Best Way to Sand Old Hardwood Floors?
With different types of sanders and abrasives available, what is the most effective method for tackling old, worn hardwood floors?
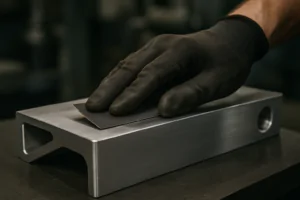
The best way to sand old hardwood floors typically involves using a combination of a large drum sander or belt sander for the main areas, an edge sander for the perimeter, and a random orbital sander or detail sander for corners and tight spots. You start with a coarse grit abrasive and work your way up to finer grits.

Various sanders used for hardwood floor refinishing.
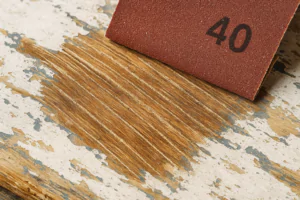
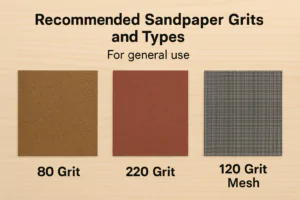
Before you start sanding, prepare the room by removing all furniture and curtains. Ensure the floor is free of any nails or staples that could damage the sander. Renting a professional-grade drum or belt sander is usually recommended for efficiency on large areas. These powerful machines use abrasive belts or sheets that wrap around a drum. You start with a coarse grit, typically 36 or 40 grit, to remove the old finish and flatten the floor. You must keep the sander moving at all times while it’s engaged with the floor to prevent creating divots. After the first pass with the coarse grit, you switch to an edge sander, which is smaller and designed to reach the edges of the room where the drum sander cannot go. Then, use a random orbital sander or hand scrape the corners and tight areas. After completing the first pass with coarse grit on all areas, you move to the next finer grit, perhaps 60 or 80 grit, repeating the process with each type of sander. Finally, you’ll use a fine grit, like 100 or 120 grit, for the final smoothing pass. Always sand with the grain of the wood as much as possible, especially with the finer grits, to avoid visible cross-grain scratches. Using high-quality, durable abrasives from NOVOGRIT can make a big difference in how efficiently the sandpaper cuts and how long it lasts, which is important for a large job like sanding a floor. After each sanding pass with a different grit, thoroughly vacuum the floor to remove all dust before moving to the next grit.
How Do You Refinish 100-Year-Old Hardwood Floors?
Refinishing century-old floors presents unique challenges and considerations. What’s involved in restoring such aged wood?
Refinishing 100-year-old hardwood floors requires a careful assessment of the wood’s condition, gentle but effective sanding to remove old finishes and imperfections without damaging the aged wood, and then applying appropriate stains and protective finishes to preserve their character.

Beautifully restored old hardwood floor.
One of the main concerns with very old floors is the thickness of the remaining wood. Over a century, floors may have been sanded multiple times, reducing the thickness of the wear layer above the tongue and groove. It’s crucial to sand only what is necessary to remove the old finish and surface imperfections. Using overly aggressive grits or applying too much pressure can quickly remove too much material and potentially damage the floor beyond repair. Starting with a slightly finer grit than you might use on a newer floor (perhaps a 60 or 80 grit depending on the old finish) might be a safer approach. Always test a small, inconspicuous area first. For deeply stained or heavily damaged areas, you might need more aggressive sanding, but proceed with caution. Ensure all nails are set well below the surface to avoid hitting them with the sander. Using a high-quality sander that allows for good control is important. After sanding to bare wood, you can apply a stain if desired, or apply a clear finish to highlight the natural beauty of the old wood. Choosing a durable finish, such as a water-based polyurethane or an oil-modified polyurethane, will help protect the floor for years to come. For those who want a truly professional finish, consider using premium abrasives from NOVOGRIT which are designed for consistent performance and longevity, reducing the risk of uneven sanding on these valuable old floors. Properly cleaning and preparing the floor between sanding and finishing steps is paramount for a flawless result.
Is it Better to Strip or Sand Hardwood Floors?
When faced with an old finish, is chemical stripping a viable alternative to sanding, or is sanding always the preferred method?
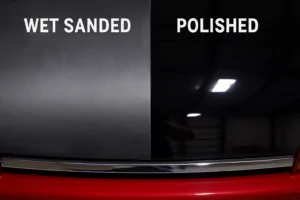
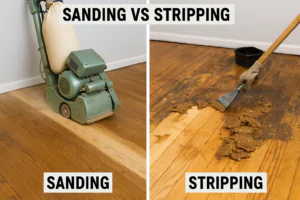
For most hardwood floor refinishing projects, sanding is the preferred and most effective method to remove old finishes, stains, and imperfections down to bare wood. Chemical stripping is rarely used on an entire hardwood floor due to the large area, labor involved, and potential for chemicals to damage the wood or leave residue.

Comparing a sanded and a chemically stripped floor section.
Chemical stripping is often used for removing finish from intricate areas, like detailed trim or furniture, where sanding is difficult. On a large, flat surface like a floor, applying stripper evenly, letting it work, and then scraping off the softened finish is incredibly labor-intensive and messy. Additionally, some chemical strippers can be harsh and may raise the grain of the wood or leave a residue that can interfere with the adhesion of new finishes. While "screen and recoating" (lightly abrading the surface with a floor buffer and screen abrasive to apply a new top coat without sanding to bare wood) is an option for floors with only minor surface wear and a good underlying finish, if you need to remove the finish completely, address scratches, dents, or change the stain color, sanding is necessary. Sanding mechanically removes the finish and a thin layer of wood, leaving a clean, smooth surface ready for staining and finishing. It also allows you to flatten the floor if there are slight inconsistencies. Using appropriate sanding equipment and a progression of grits, including quality abrasives like those from NOVOGRIT, allows for efficient and controlled material removal, making it the standard method for refinishing hardwood floors. Always weigh the condition of the floor and the desired outcome when deciding on the best approach, but for a full refinish, sanding is the established practice.
Is it Better to Buff or Sand Hardwood Floors?
Sometimes people talk about "buffing" floors. Is this the same as sanding, or is it a different process?
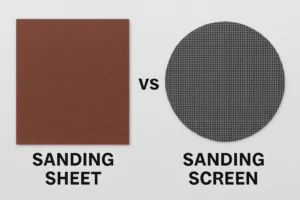
Sanding and buffing hardwood floors are two different processes with distinct purposes. Sanding removes material to level the floor, remove old finishes and imperfections, and prepare the bare wood. Buffing, typically done with a floor buffer and a screen abrasive or pad, is a much lighter process used for cleaning, preparing for a recoat, or sometimes for a very light abrasion between coats of finish.

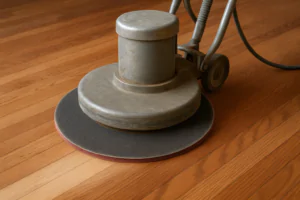
A floor buffer equipped with a screen abrasive.
Buffing, often referred to as "screening" when using screen abrasives, is a less aggressive form of abrasion than sanding with a drum or belt sander. A floor buffer is a rotary machine that spins a pad or screen on the floor. Screen abrasives are like mesh sandpaper and are used to lightly abrade the surface. This process is primarily used for "screen and recoating," which is a maintenance procedure for floors that have a good underlying finish but show signs of wear on the surface. The screen roughens the existing finish just enough for a new layer of polyurethane or other finish to adhere properly. It does not remove deep scratches, dents, or stain. Buffing with polishing pads can also be used to clean and lightly polish the floor surface. Sanding, on the other hand, is a much more aggressive process that uses coarser abrasives (like 36, 60, 80, 100, 120 grit sandpaper from NOVOGRIT on drum or edge sanders) to remove the entire finish layer, and even a thin layer of the wood itself, to get down to clean, bare wood. This is necessary when the finish is heavily worn, scratched, or damaged, or when you want to change the stain color. So, you sand to refinish the floor from scratch, and you buff (or screen) to prepare an existing finish for a fresh top coat. You would never use a buffer with a screen to remove the entire finish or significant damage; that requires proper sanding.
Conclusion
Sanding old hardwood floors is a multi-step process that requires the right tools and careful execution. By using appropriate sanders, progressing through different grit levels with quality abrasives like NOVOGRIT, and understanding the difference between sanding and buffing, you can successfully refinish your floors and restore their natural beauty.

You may also be interested in:

What is the difference between zirconium, ceramic, and aluminum oxide abrasives?
Choosing the right abrasive can be confusing. Using the wrong one wastes time, ruins your workpiece, and costs you money. Let’s make the choice simple for you. The main difference

Best Sandpaper for Aluminum: NOVOGRIT's Guide to Flawless Finishes
What is the Best Type of Sandpaper to Use on Aluminum? Do you find yourself frustrated by sandpaper that gums up instantly when you try to smooth aluminum? It is
Best Sandpaper for Paint Removal: Grits, Types, & Tips | NOVOGRIT
What is the Best Sandpaper for Removing Paint? Are you tired of staring at chipped, peeling paint on your furniture, walls, or even your car? It's a common problem, and
Automotive Wet Sanding: Supplies, Liquids & Best Sandpaper
Automotive Wet Sanding Supplies: What Do You Really Need? Wet sanding is a crucial technique in automotive refinishing, used to achieve a flawlessly smooth surface before painting or polishing. Unlike
Best Sandpaper for Paint Removal & Grit Guide
What Is the Best Sandpaper for Removing Paint? Removing old paint can be a tedious job, but using the right sandpaper makes all the difference. It's not just about grit;
Hardwood Floor Sanding: Screen vs. Sandpaper & Best Practices
Sanding Screen vs. Sandpaper for Hardwood Floors: Which is Best? When you're tackling hardwood floor projects, choosing the right abrasive is crucial for achieving a smooth, professional finish. Both sanding
Paper Backing vs. Mesh Sanding Discs: Which Abrasive to Choose?
Paper Back vs. Mesh Sanding Discs: Which One Should You Pick? Choosing the right sanding disc backing can significantly impact your project's efficiency and finish quality. Paper-backed discs are a
Sanding Mesh vs Paper: Which is More Economical and Better?
Is Sanding Mesh More Economical Than Sandpaper? Comparing Abrasive Costs When stocking up on abrasives, cost is always a factor. Paper sandpaper has traditionally been the standard, but newer mesh
Sanding Nets & Screens Use Cases: When to Choose Mesh Abrasives
Sanding Nets and Screens: What Are Their Best Use Cases? When you encounter sanding nets or screens, you might wonder where they fit into your sanding projects. Unlike traditional solid-backed